
Page Classification Manager
- Applies to:
- All versions
- Role required:
- Author
The page classification manager consists of three sections: Filters, the results table, and options to change classifications.
- On the toolbar, navigate to Site tools > Dashboard.
- In the Content Tools panel, select Page Classification Manager.
This article only applies to Published / Live pages, not Drafts or Live Placeholder pages.
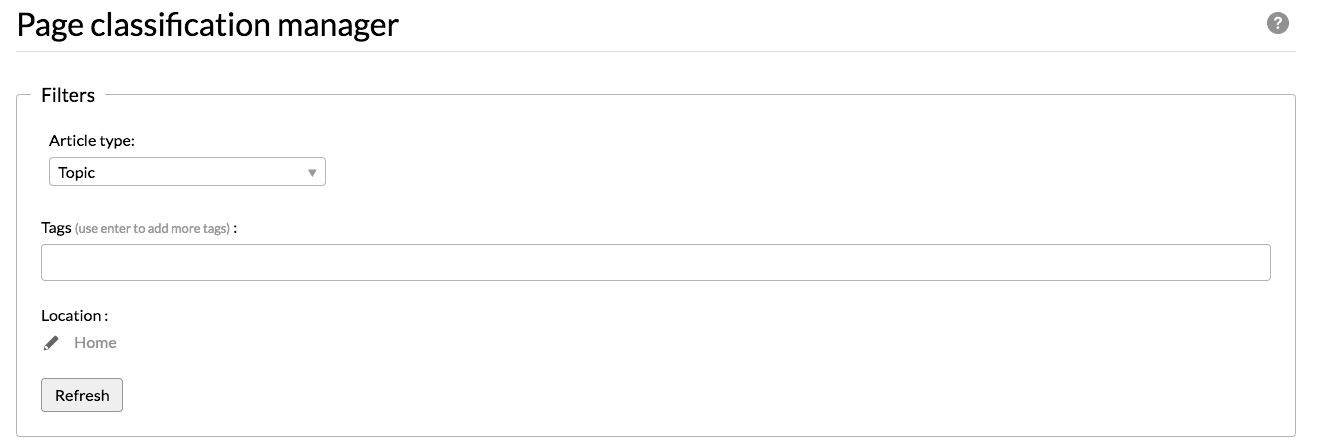
Filters
In the Filters section, choose criteria for the Page (article) type, Tags, or Location of articles you want to manage.
Results table
The results table displays pages based on the criteria you selected.
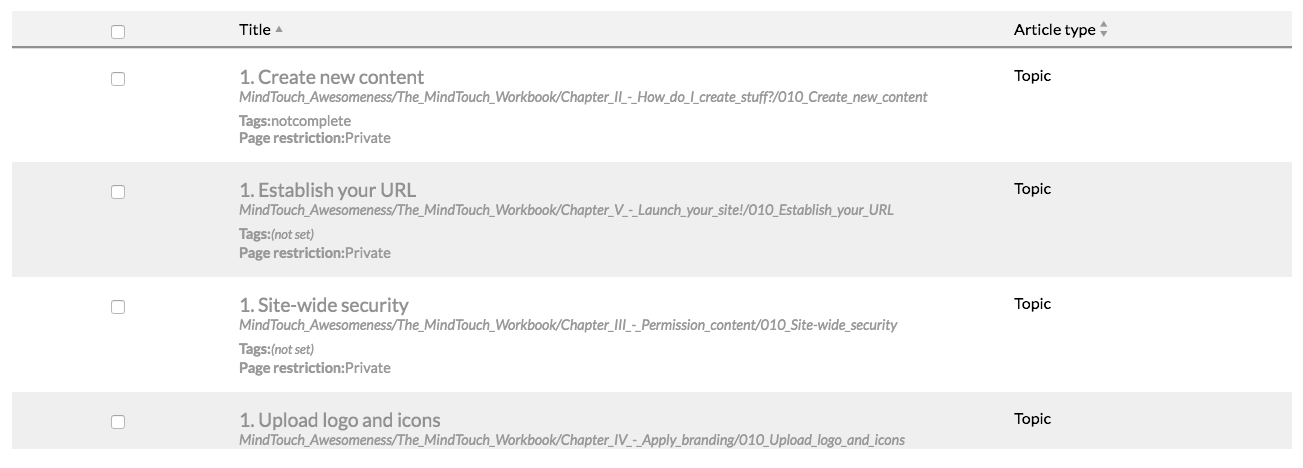
The Results Table has a limit of 1,000 rows.
Change classifications
In the Change classification to section, make changes to classifications and tags by article type. Add classifications to unclassified or misclassified content to improve site functionality and UX, and increase customer satisfaction.
The Change classifications to section is grayed out until pages are selected.

Add tags to multiple pages
- Filter for the pages you want.
- Click the check box to the left of the page, or click the check box in the table header to select all returned pages.
- Scroll down to the Change classification to section.
- Enter the name of the tag you want to attach to the page. If tags already exist on the site, the auto-complete feature will suggest them as you type.
- Hit Enter, or click the existing tag you want to apply.