Create custom classifications to organize and manage your content.
You can create new classifications, make classifications recursive, delete existing labels, and add to existing classifications.
Create custom classifications
- Navigate to Site tools > Control Panel > Systems Settings > Classifications.
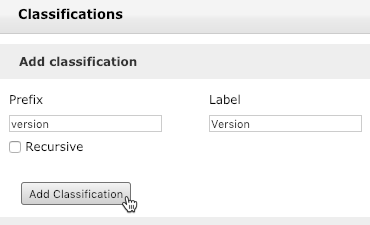
- In the Add Classification section, enter a Prefix and Label for your custom Classification.
The Label will appear above the drop-down menu for this Classification in Page Settings.
- If you want a selected Classification to automatically apply to sub-pages created underneath a page, select the Recursive option.

- Click Add Classification to save the new classification type.
- After the Classifications page refreshes, scroll down to find your new classification type.
- Enter a Tag and Label for each option you want to include with your custom classification.
- Click Add Tag to save each option.

Each Label will appear, in the order it was added, within the drop-down menu for this classification in Page Settings.
